How to Create Vehicle Inspection Report
Watch the video tutorial to create vehicle inspection report
Follow this steps to create DVIR
Follow the steps below to create a vehicle inspection report:
Step 1.
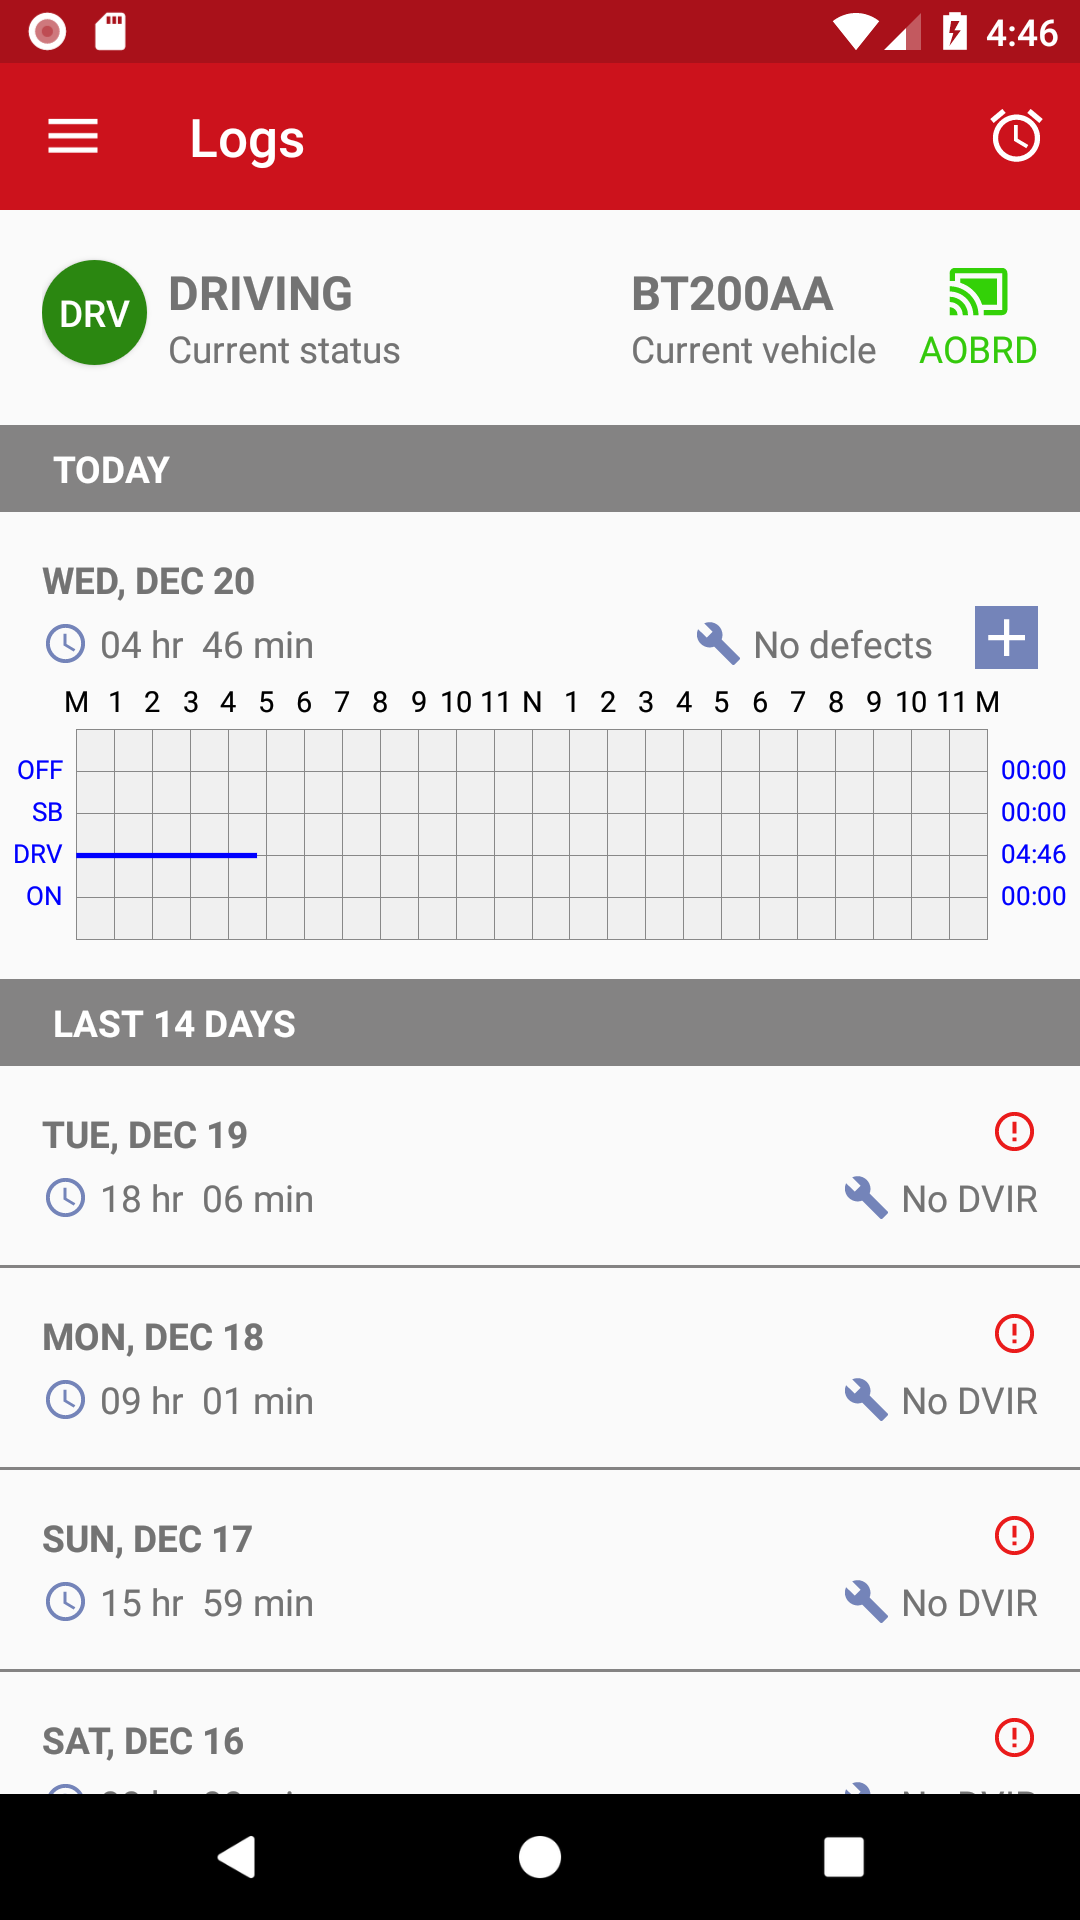
On the main Logs screen, you can check if a DVIR is already created or not. Next to the wrench icon you can see 3 statuses: No DVIR, No Defects, or # Defects.
If you want to add DVIR for the current day, tap the + icon in blue square. This action takes you directly to the New DVIR screen.
If you want to add DVIR for some other day, first tap the day for which you want to create the report.

Step 2.
Select the DVIR tab and tap the + button at the bottom right corner.
Step 3.
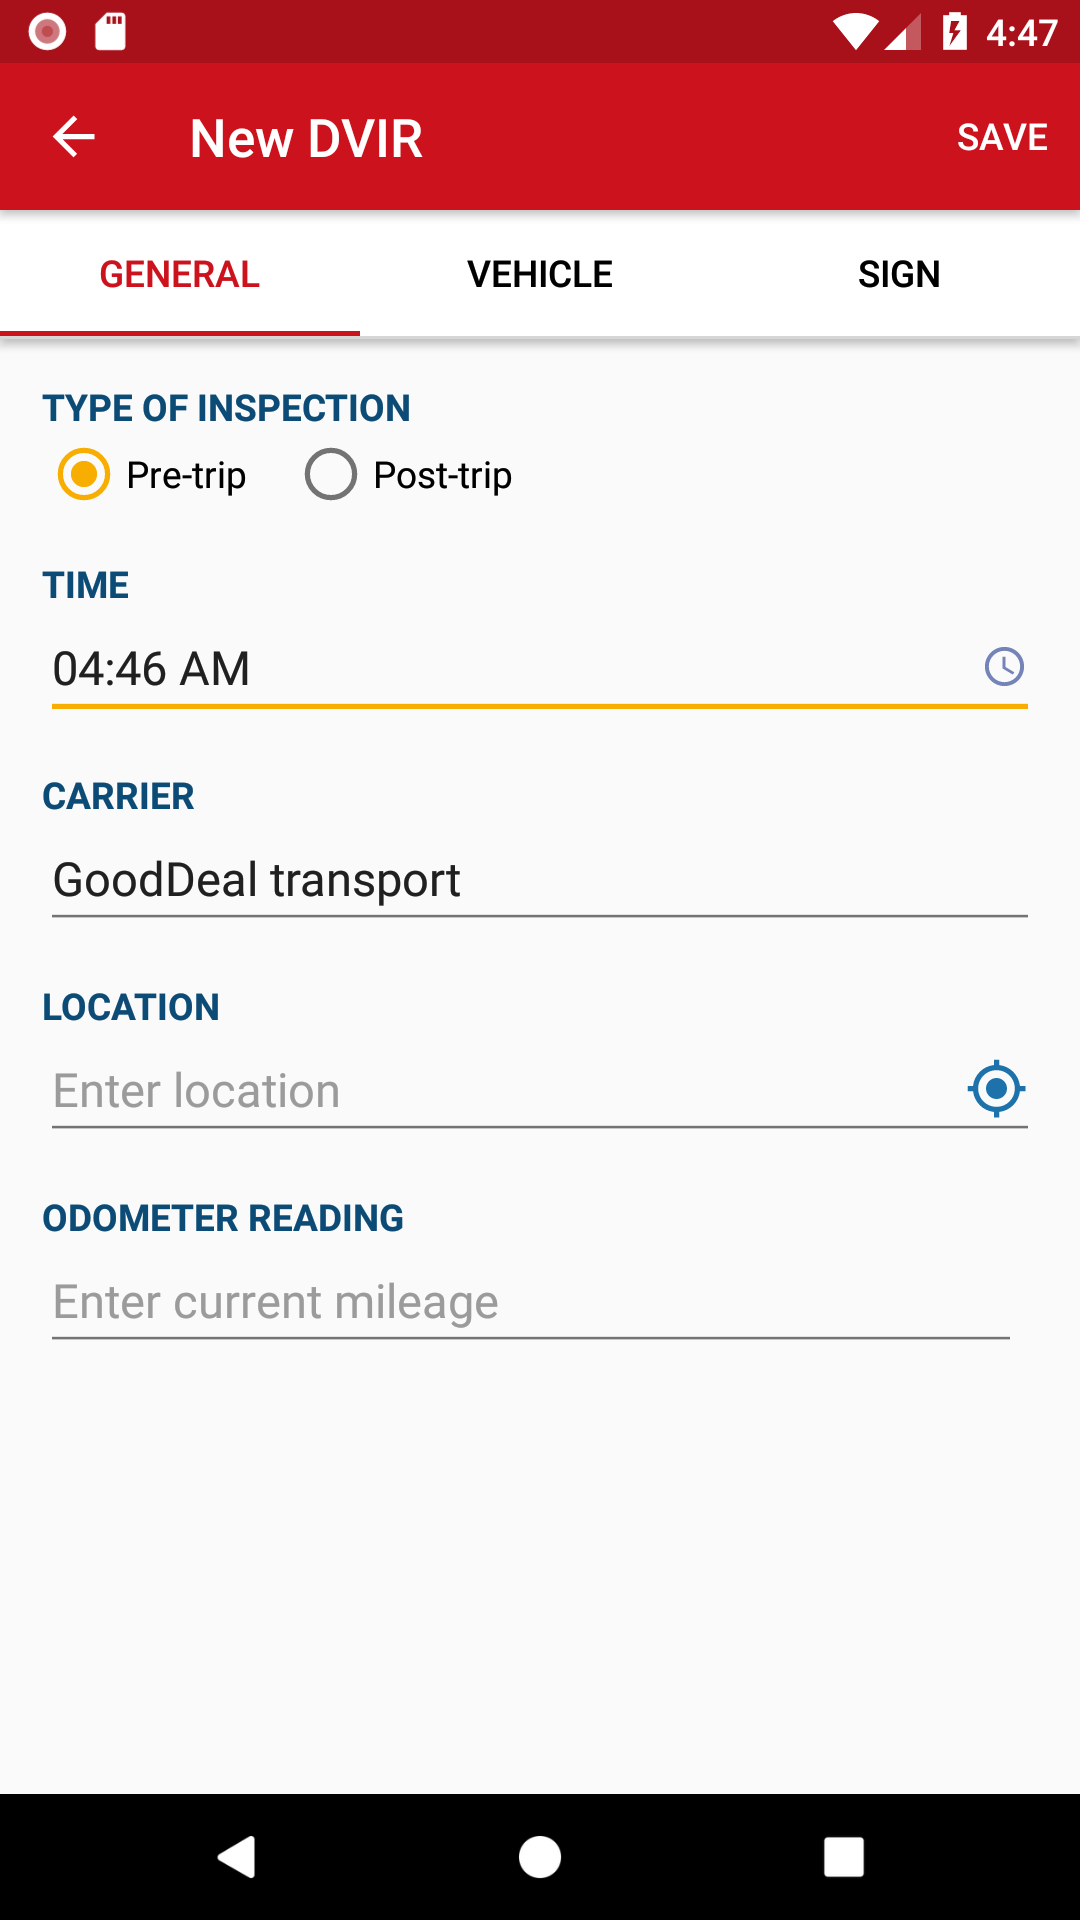
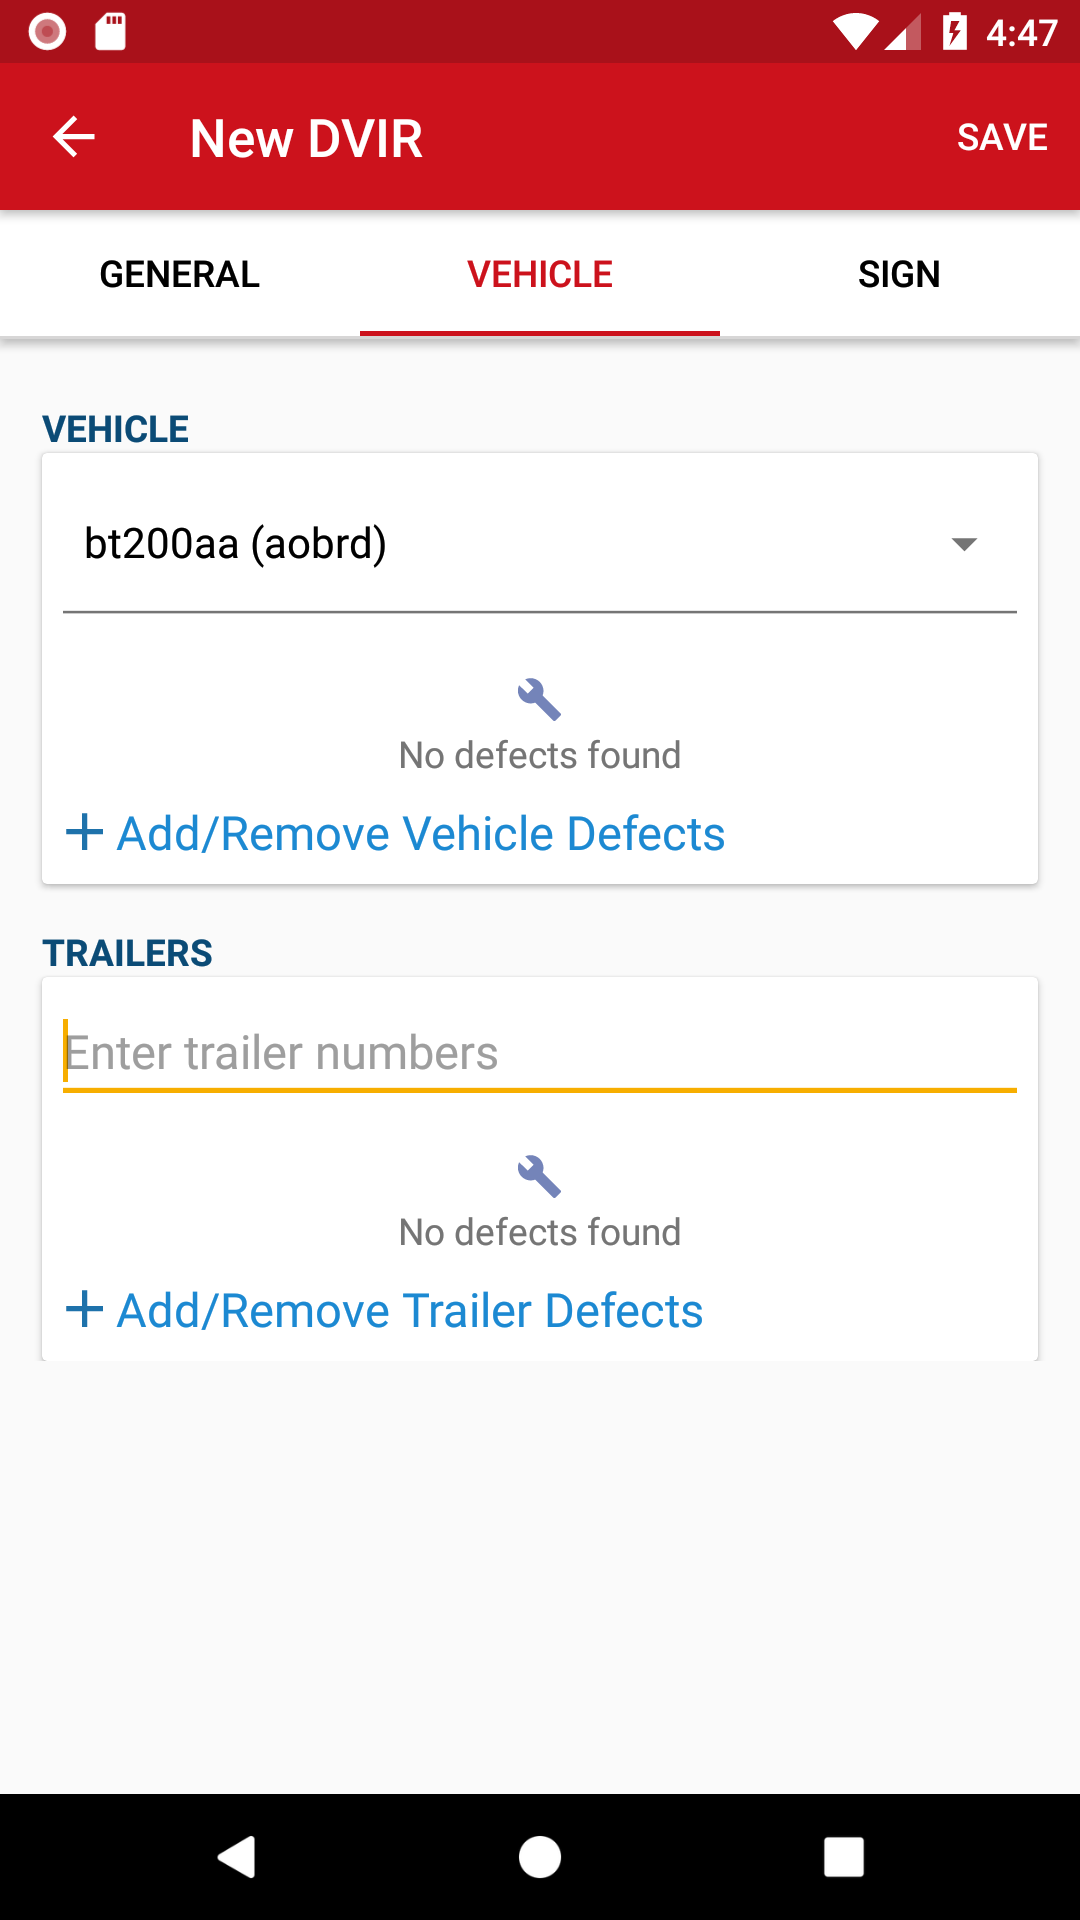
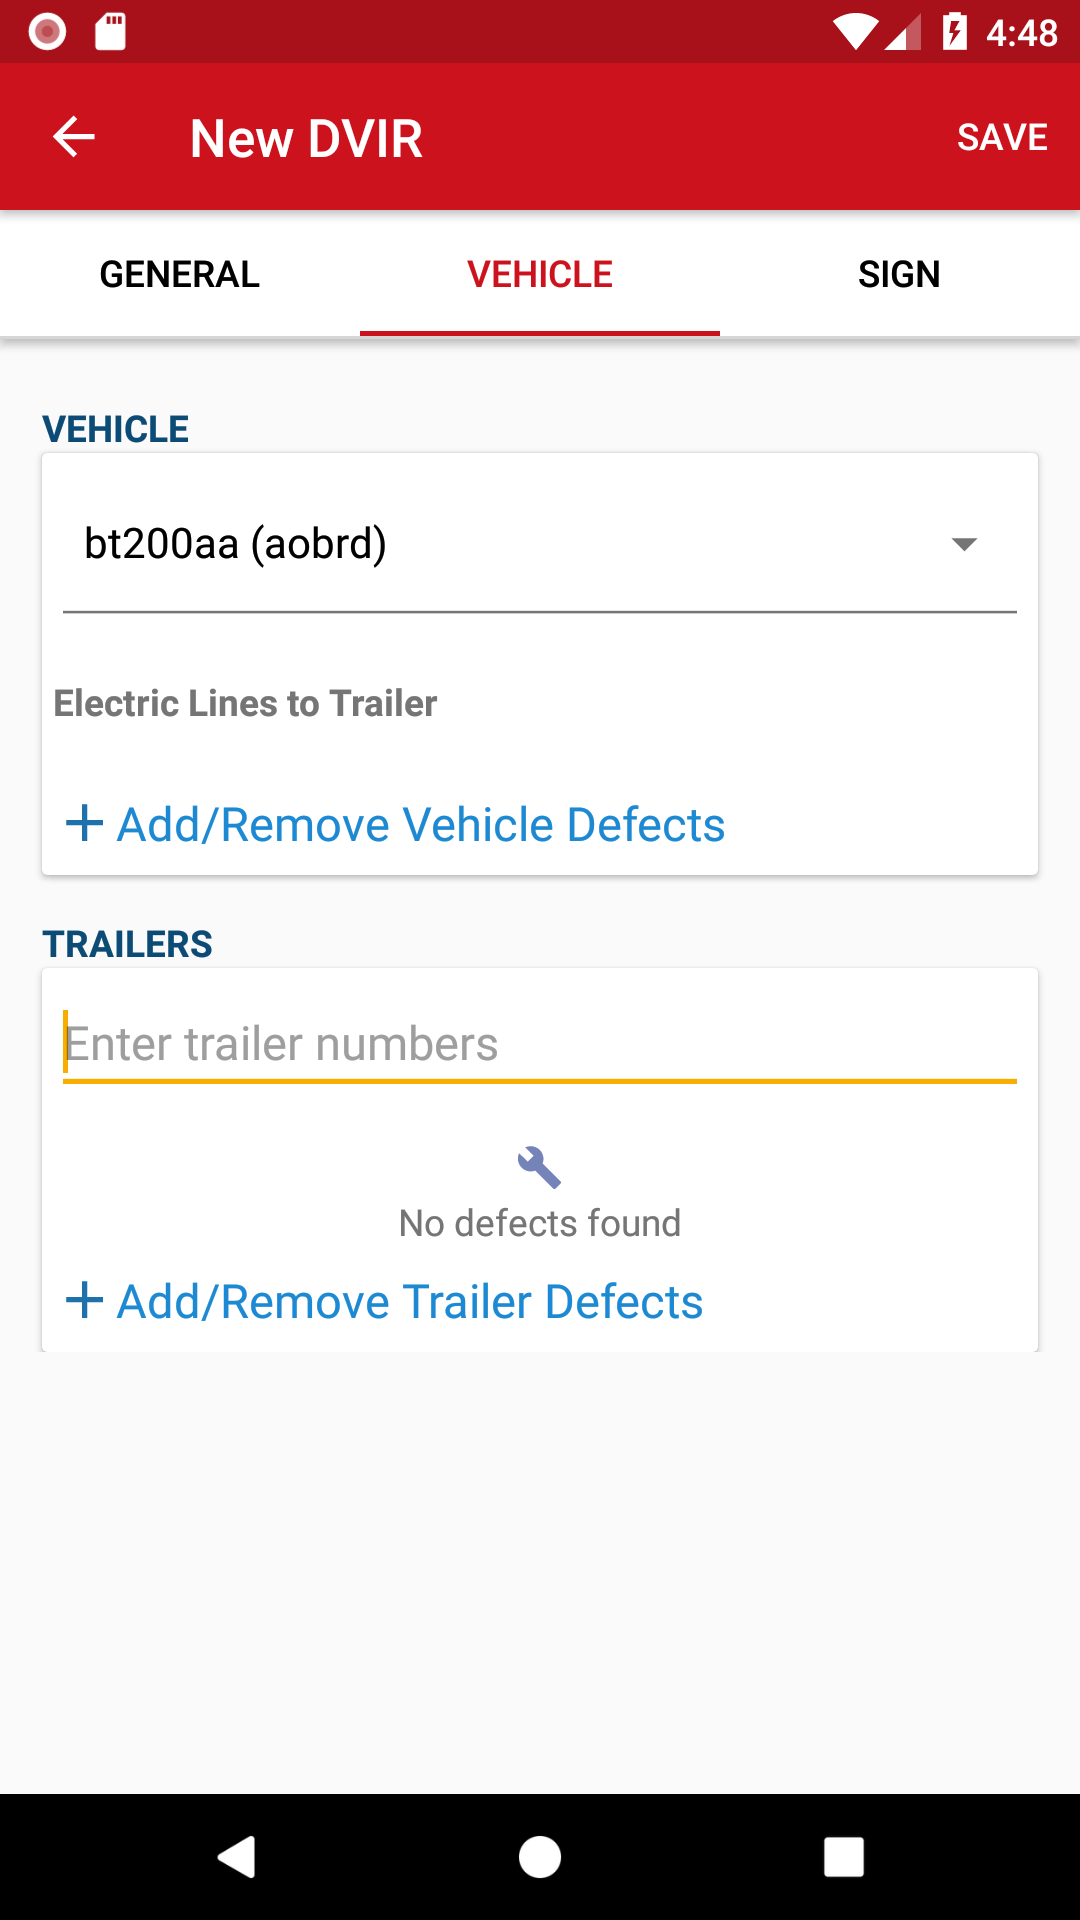
On the New DVIR screen you can fill in all the required fields and tap SAVE. At the Vehicle tab you can add / remove vehicle defects.
Step 4.
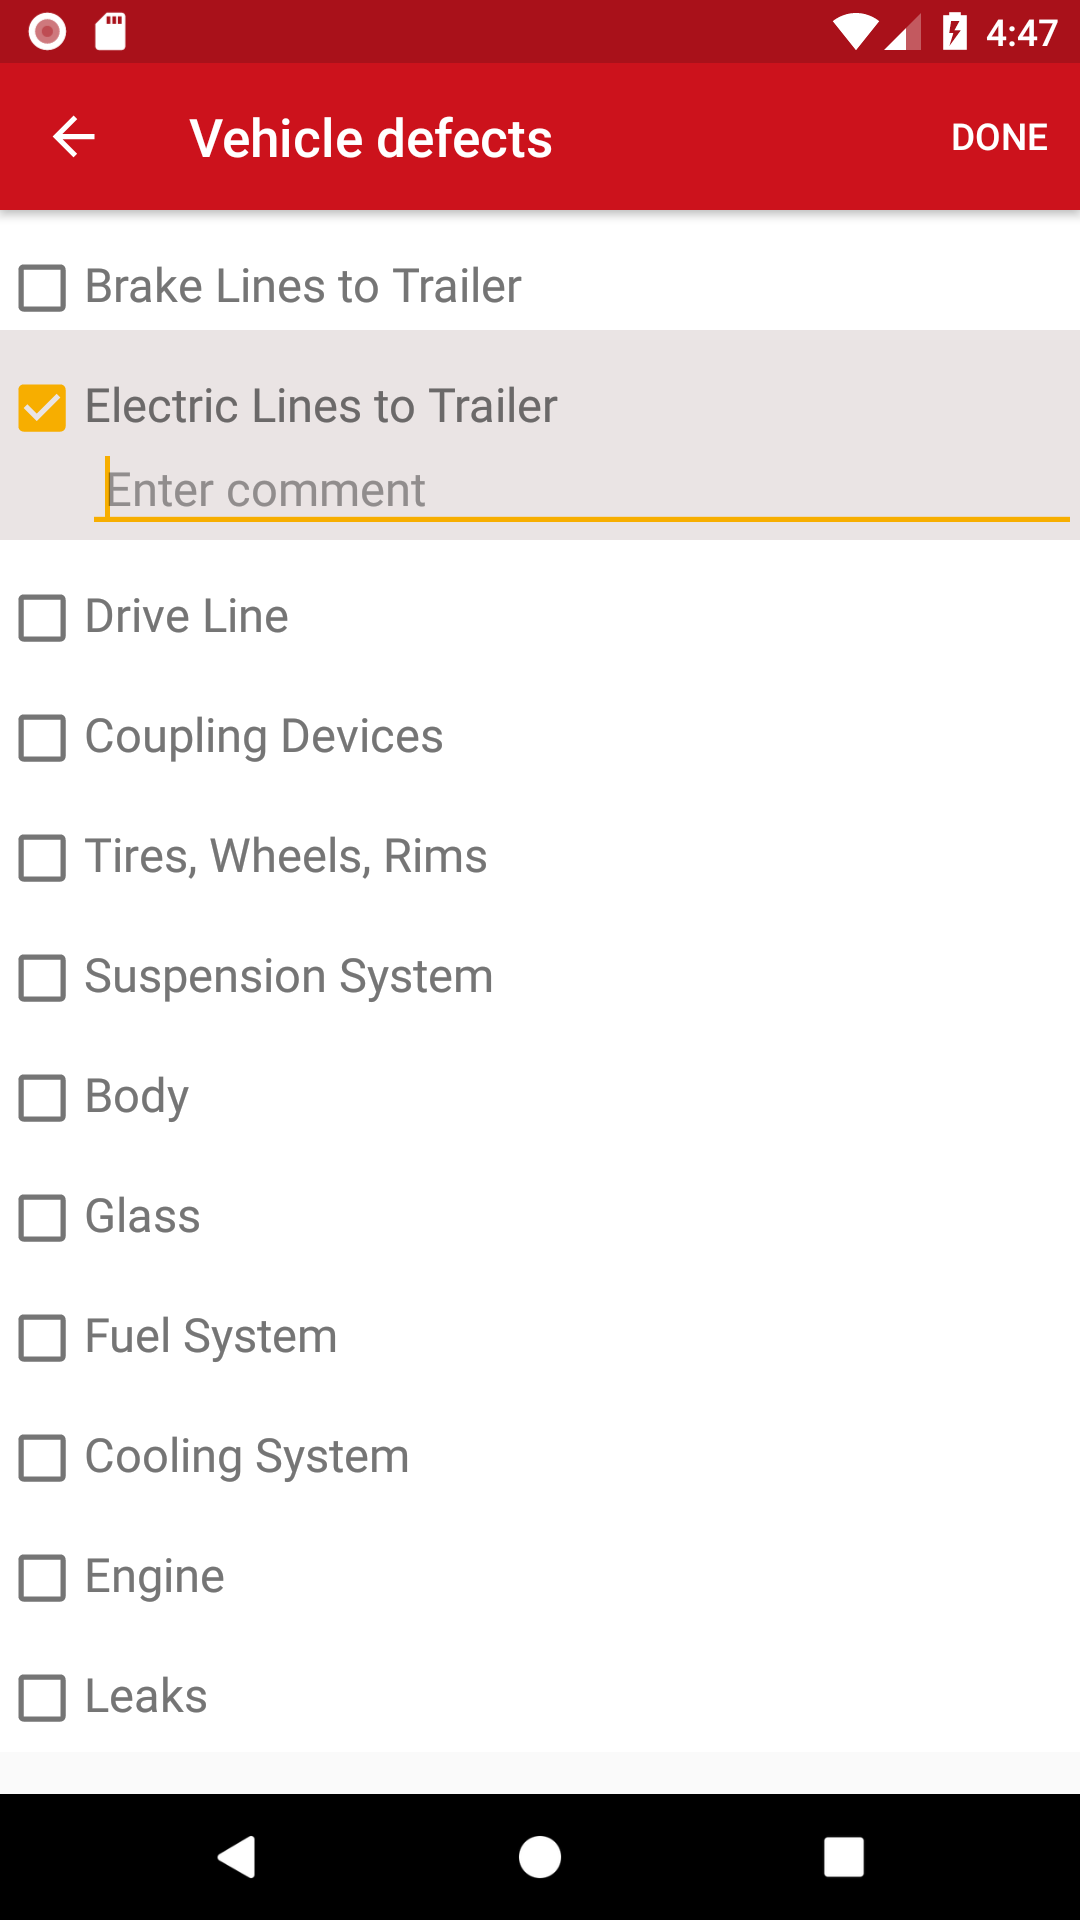
Choose the defects that apply, from the available options on the Vehicle Defects screen. Tap Done to save the selected defects.
Step 5.
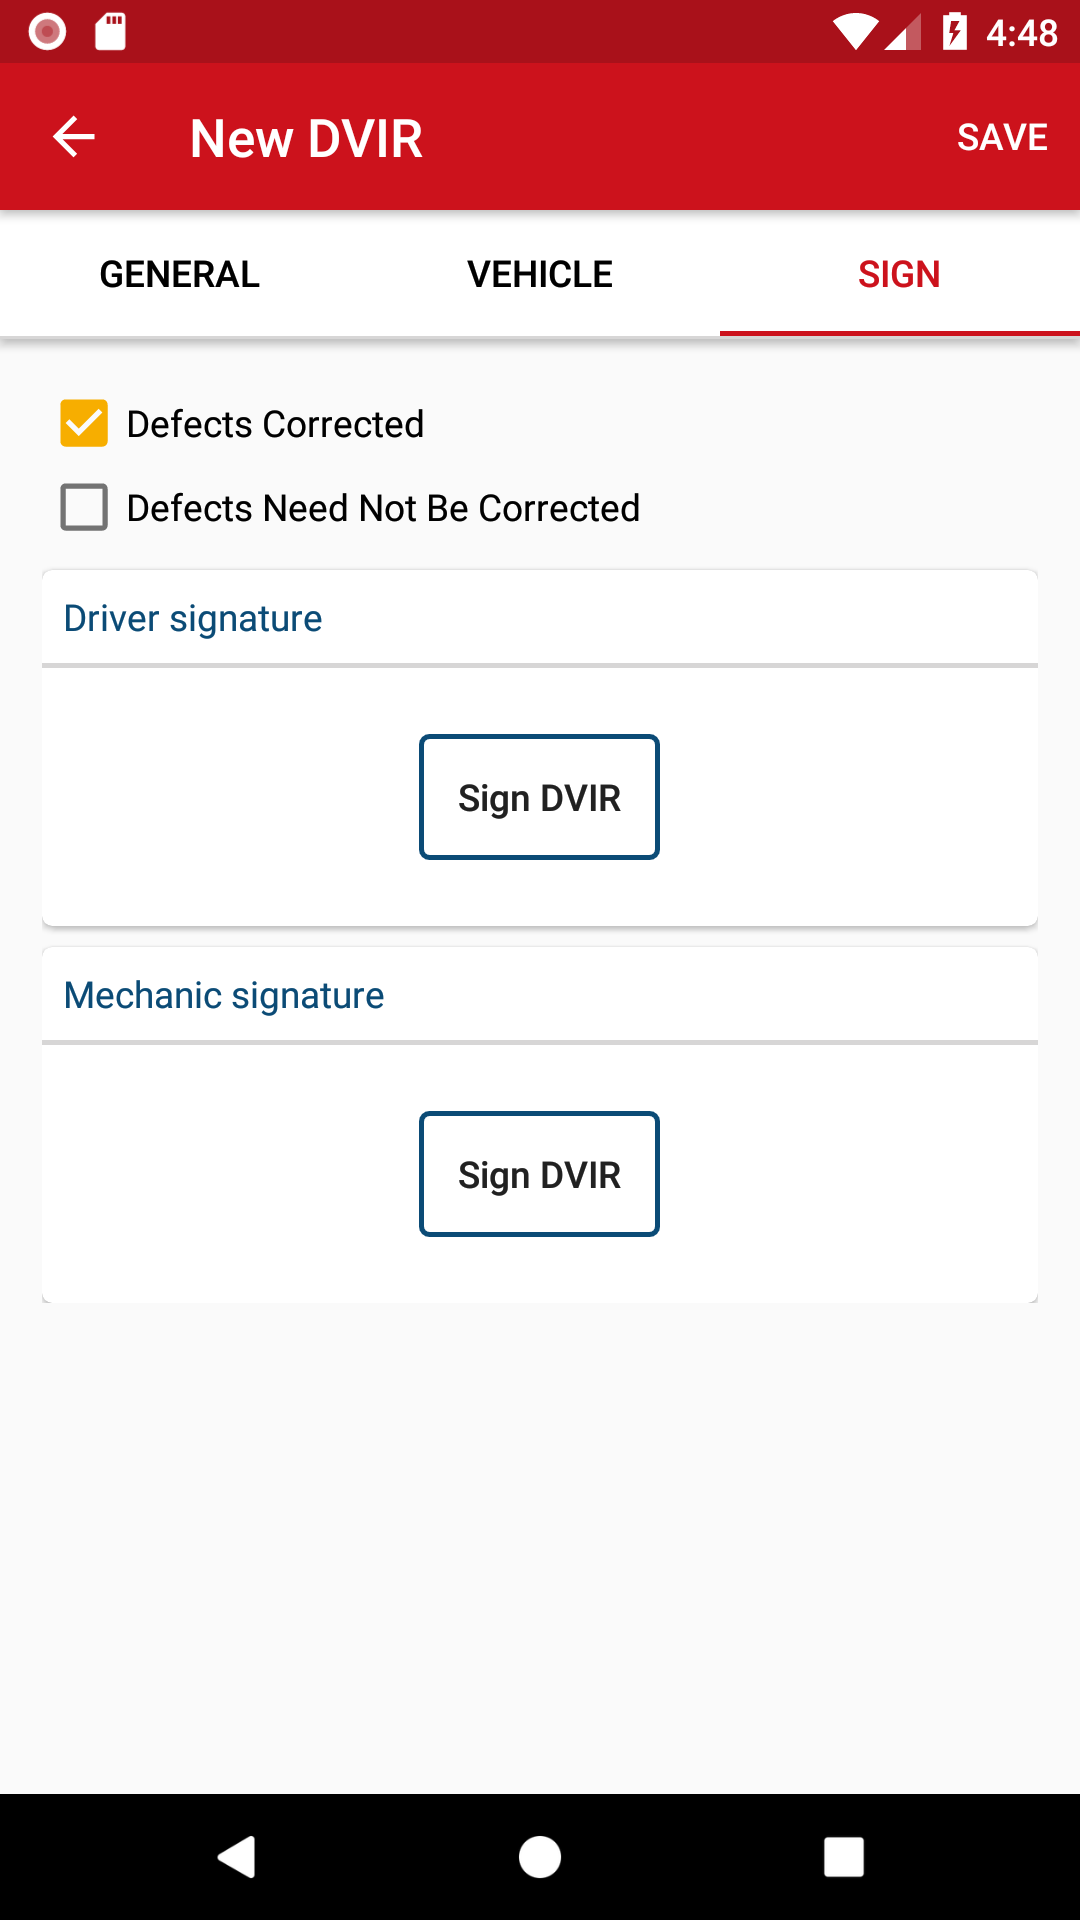
Select the tab Sign to sign the DVIR. Tap the Sign DVIR button to electronically sign the report.

Step 6.
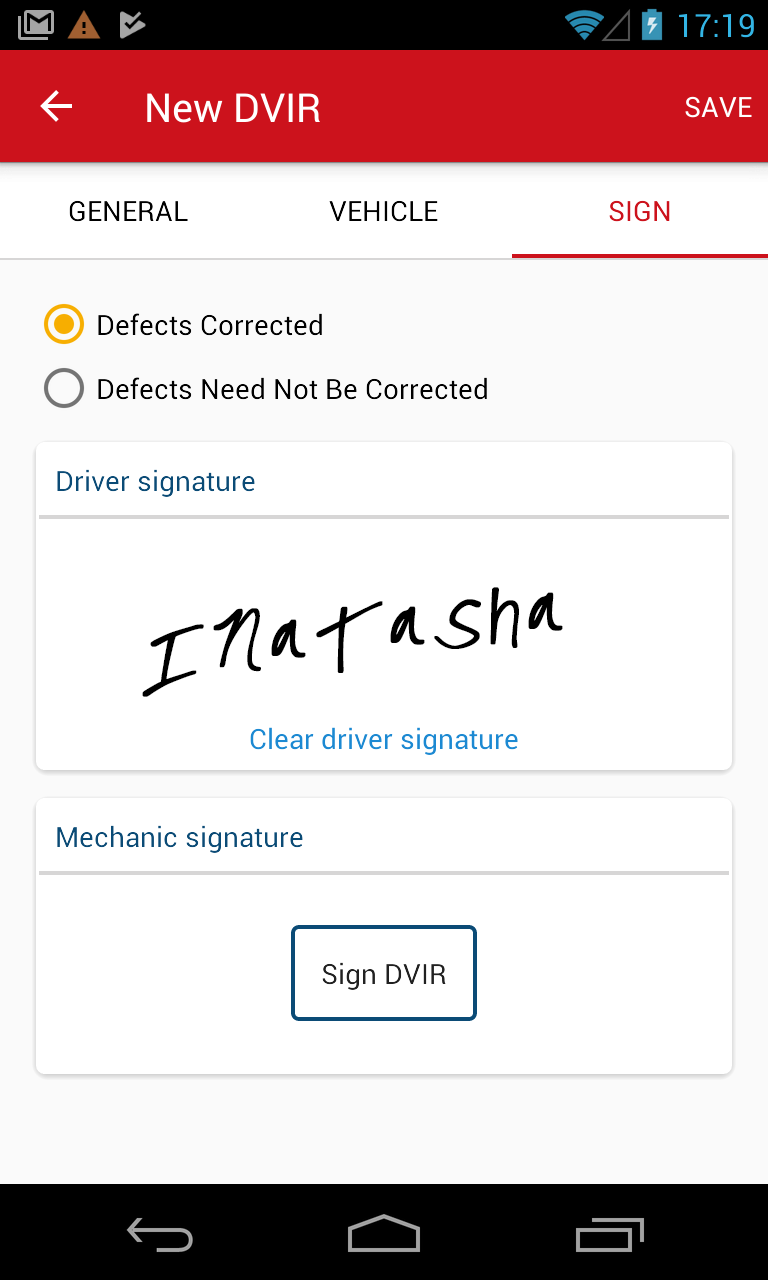
Enter your signature in the marked field on the Sign DVIR screen and click Done. After signing, tap Save.
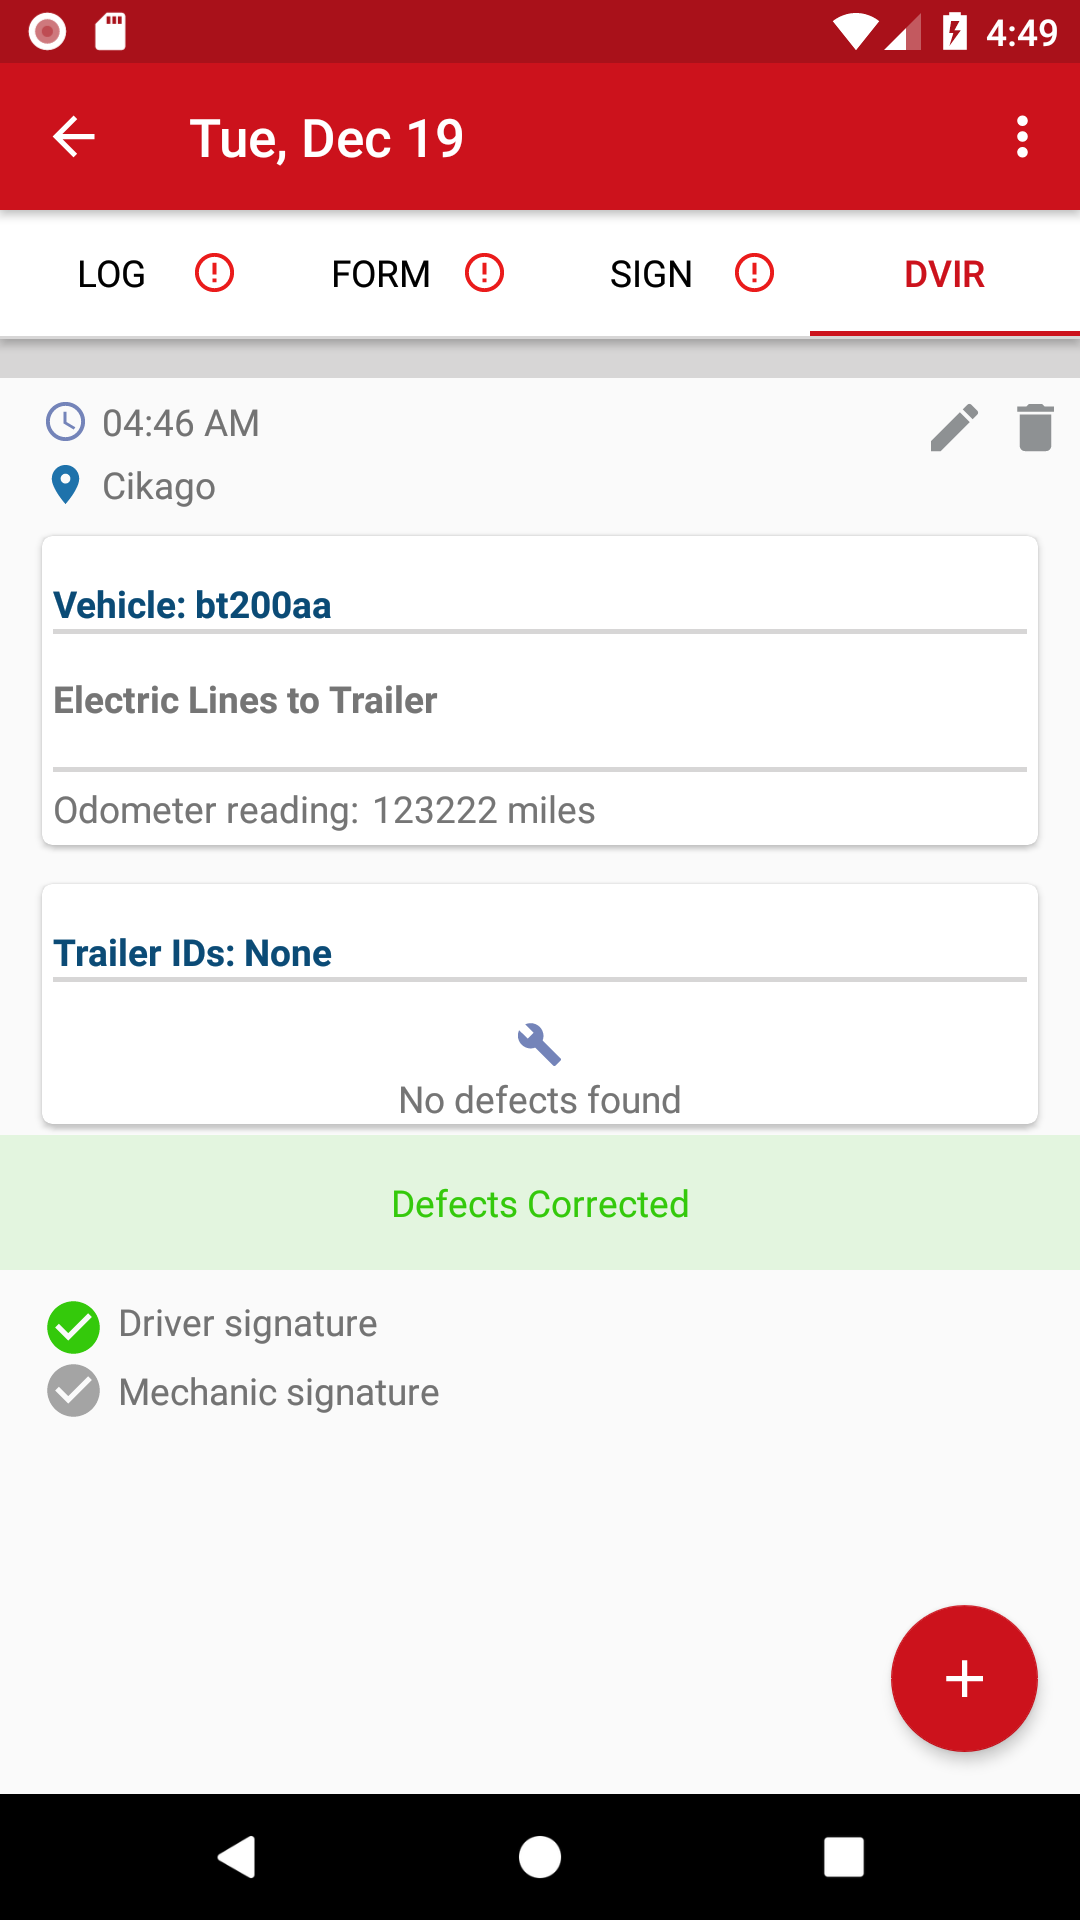
When you return to the main DVIR tab, on the selected Log, the inspection report that you have created will be shown.
Also, on the main Logs screen, the Wrench icon will reflect the changes made, i.e. if you have reported 2 defects, it will change from No DVIR to 2 Defects.
Want to Change DVIR? Check the tutorial How to Change Vehicle Inspection Report (DVIR).